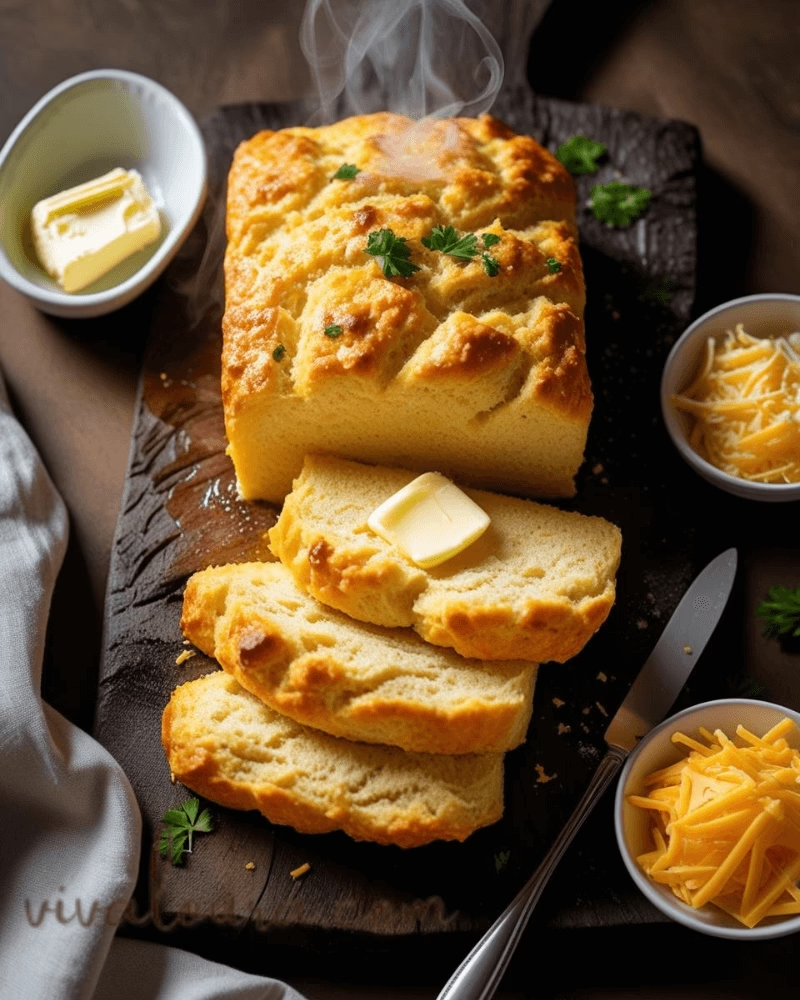
Savory hand pies
There’s a special kind of comfort in food you can hold—something warm, flaky, and filled with flavor. Savory hand pies have that magic. They feel like a hug in pastry form.
One evening, after a long day of errands and zero energy to make a full meal, I craved something homemade—but quick. That’s when I pulled out leftover chicken, a few pantry staples, and ready-made pastry sheets. The result? A golden, crispy hand pie that hit every note of cozy, satisfying, and easy.
You’ll love how versatile they are—fill them with anything from mushrooms and spinach to spicy keema or cheesy potatoes. They’re perfect for lunchboxes, movie nights, or days when you just want food that gets you.
Equipment you’ll need
(Click on the equipment names below to view 🛒.)
- Baking sheet—This non-stick baking tray ensures even browning
- Rolling pin – A classic wooden one like this is perfect for pastry
- Pastry cutter or knife
- Mixing bowl—Stainless steel bowls make cleanup easier
- Pastry brush – This silicone set is great for egg wash
Ingredients
For the Pastry (or use store-bought puff pastry):
- 2 cups all-purpose flour
- ½ tsp salt
- 100g cold butter, cubed
- 6–8 tbsp cold water
For the Filling (makes 8 pies):
- 1 cup cooked chicken or paneer, shredded
- ½ onion, finely chopped
- 1 small carrot, grated
- ½ cup cheese (mozzarella or cheddar)
- 1 tbsp oil or butter
- 1 tsp mixed herbs
- Salt and pepper to taste
- 1 egg (for brushing)

Instructions
Step 1: Prepare the Dough (or skip if store-bought)
In a mixing bowl, combine flour and salt. Rub in the cold butter until crumbly. Gradually add cold water and knead into a dough. Chill for 15 minutes while you prep the filling.
Step 2: Cook the Filling
In a small pan, heat oil or butter. Add onions and carrots, and sauté until soft. Toss in your cooked chicken or paneer, herbs, salt, and pepper. Once done, let it cool slightly before stirring in cheese.
Step 3: Assemble the Pies
Roll out the dough using a rolling pin on a floured surface. Cut into circles or rectangles. Add 1–2 tablespoons of filling in the center, fold over, and seal the edges using a pastry cutter or fork.
Step 4: Brush and Bake
Place pies on a baking tray. Brush tops with beaten egg using a silicone pastry brush. Bake at 180°C (350°F) for 20–25 minutes or until golden brown.
Tips for Success
- Make sure the filling is cooled before assembling—hot filling can tear the dough.
- Use leftover rotisserie chicken or cooked veggies to save time.
- Chill the hand pies before baking for extra flakiness.
- Freeze unbaked pies for later—they’re a meal-prep win.
- Try seasoning the egg wash with herbs or paprika for a hint of color and flavor.
Frequently Asked Questions (FAQs)
Q1: Can I freeze savory hand pies?
Yes! Freeze them unbaked on a tray, then transfer to bags. Bake directly from frozen—add 5 minutes to the time.
Q2: What pastry is best for hand pies?
Puff pastry or shortcrust works great. For homemade, stick with butter-based dough for flakiness
Q3: How do I stop hand pies from leaking?
Don’t overfill them and make sure to seal edges firmly with a fork or crimp
Q4: Can I make them vegetarian?
Of course. Fill them with sautéed mushrooms, spinach, or cheese and corn.
Q5: How long do hand pies stay fresh?
They stay fresh for 3–4 days in an airtight container. Reheat in a toaster oven or air fryer.
savory hand pies are best served with
- Creamy Seafood Lasagna for a comfort dinner spread
- A fresh green salad or coleslaw
- Yogurt dip or spicy tomato chutney
- Iced tea or a warm soup
- Movie marathons or picnics with friends
Conclusion
In the end, savory hand pies aren’t just a snack—they’re a pocket-sized solution for busy days, lazy evenings, or anytime you crave a delicious break. Not only are they easy to make, but they also freeze well, reheat beautifully, and make people smile.
So, grab your non-stick baking tray, roll out some dough, and let the magic begin—one crispy, buttery bite at a time.

